
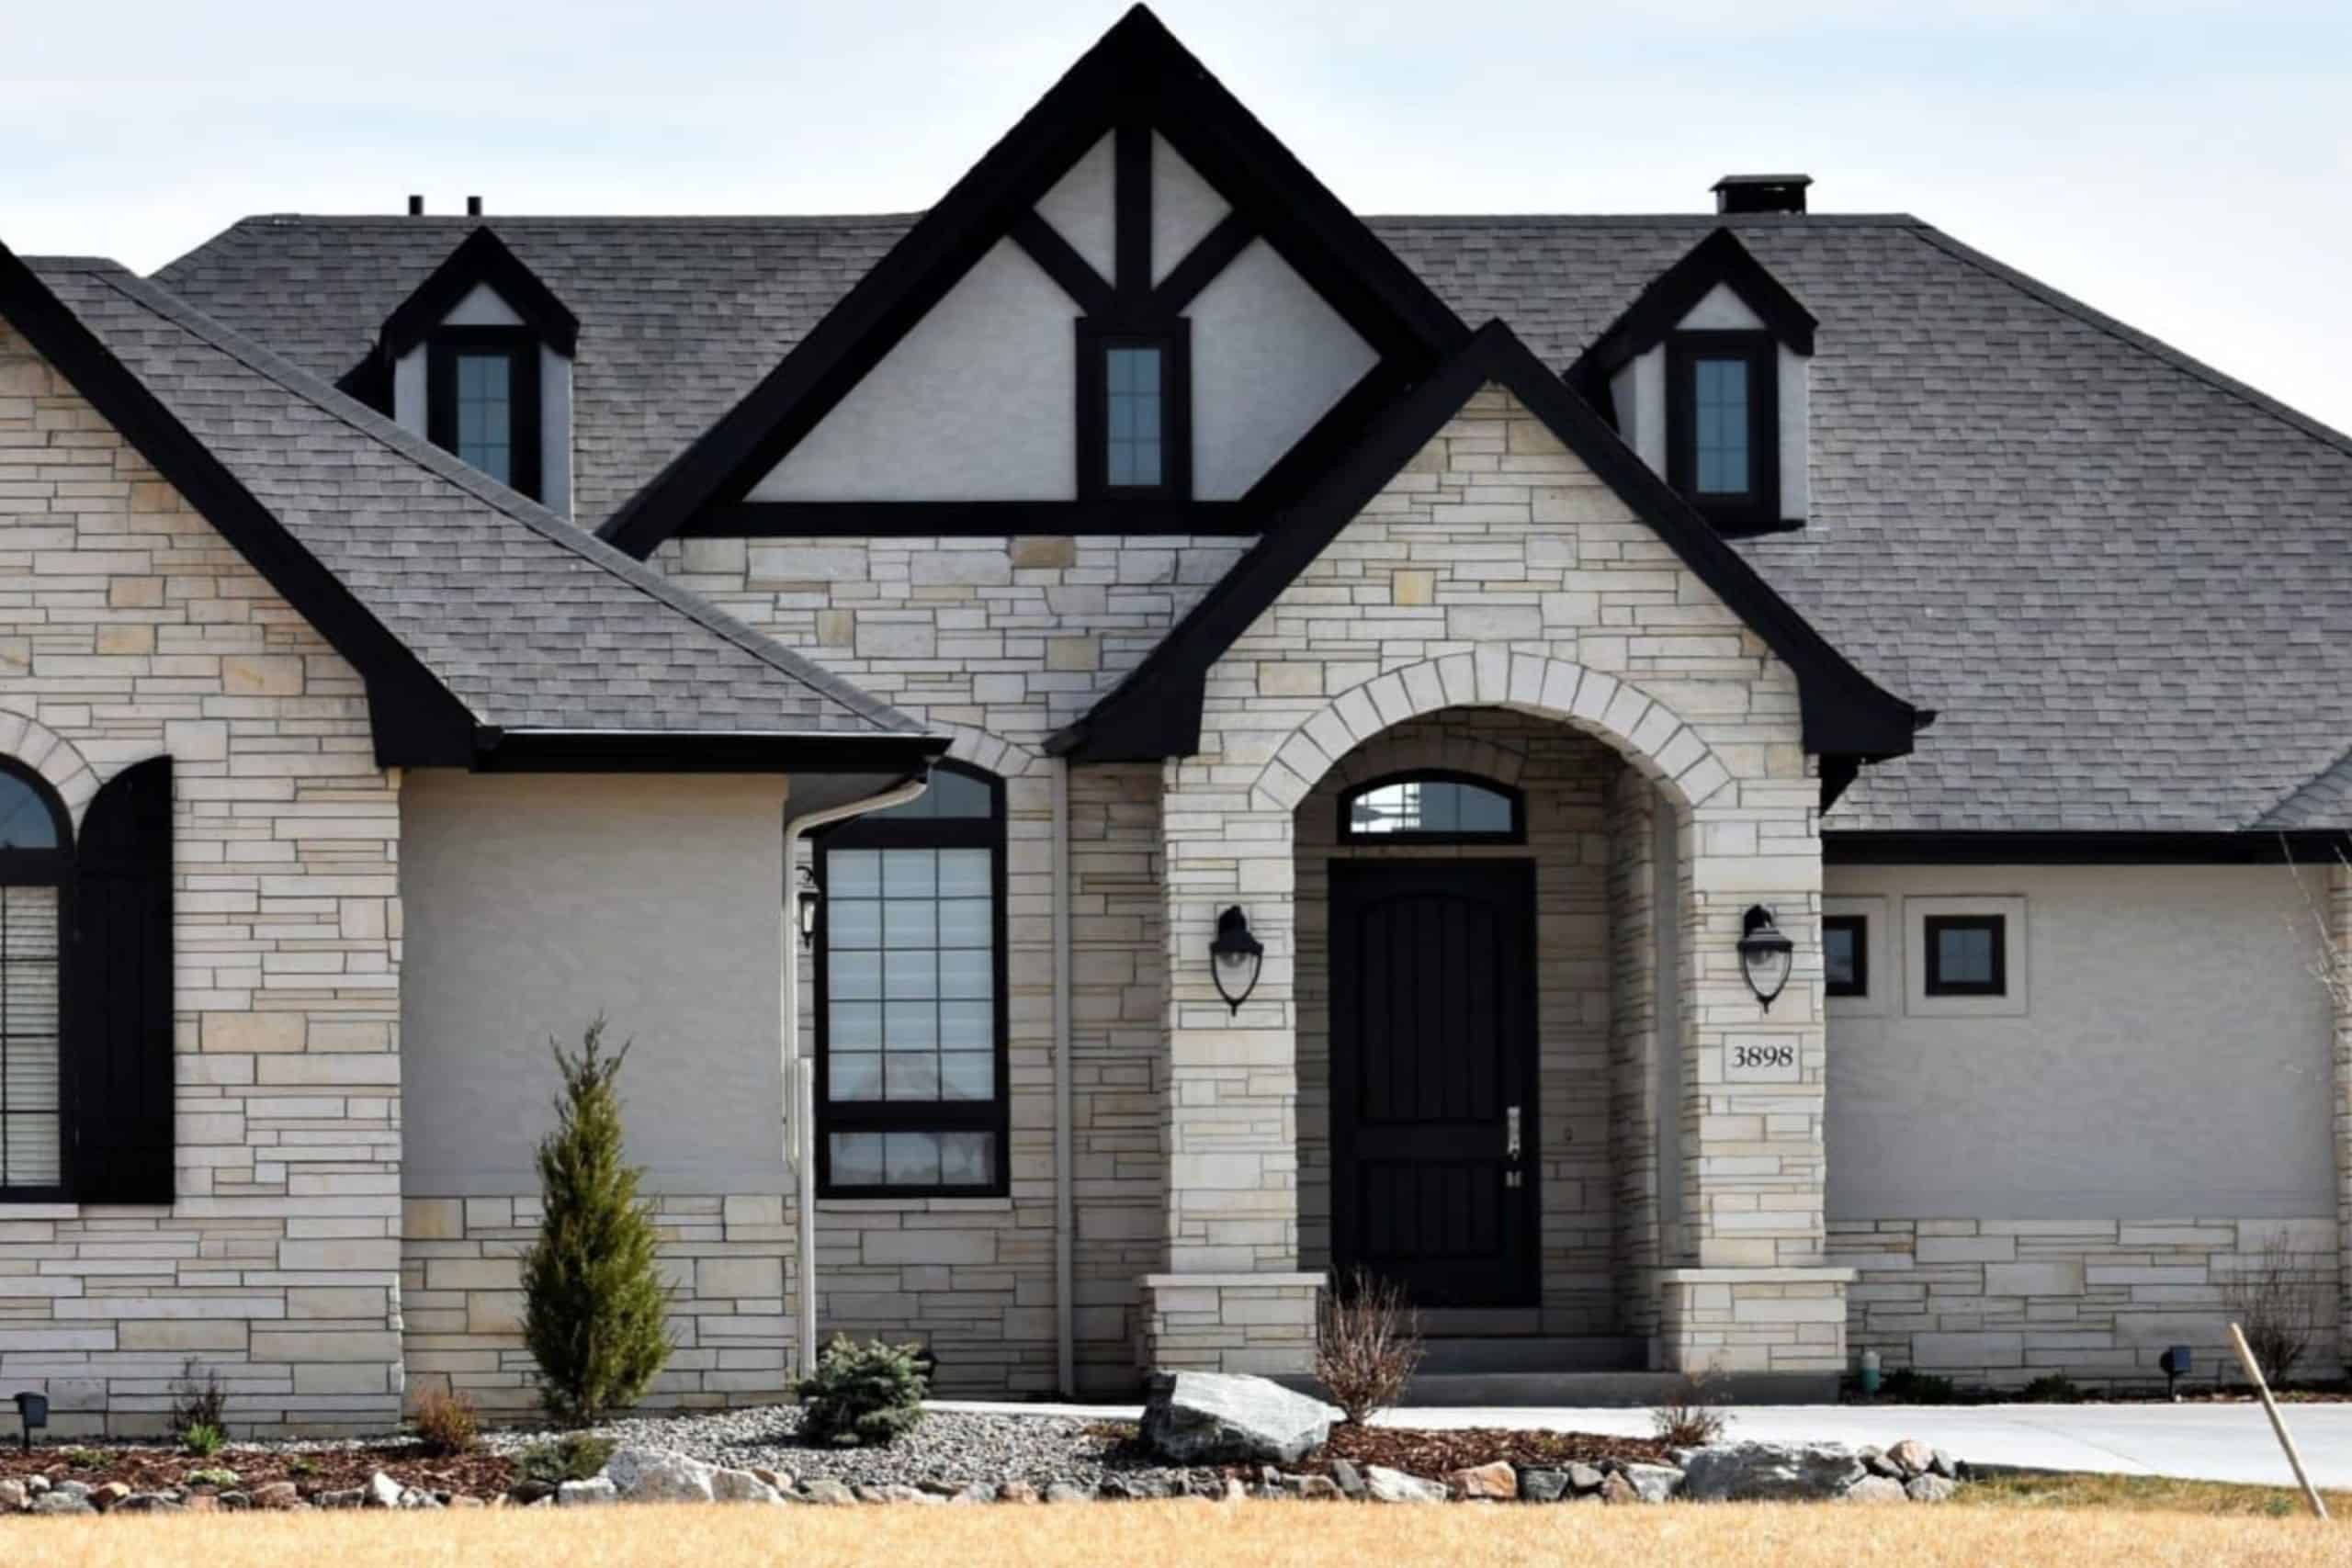
Old stone veneer can lose its charm over time, leaving your home or outdoor space looking worn and outdated. Whether it’s cracked, faded, or simply out of style, replacing stone veneer can refresh the entire look of your property.
The good news? Swapping out old stone for new is easier than you might think, and choosing the right materials can make all the difference. With a wide selection of natural stone veneer options available, updating your space has never been more exciting. Let’s explore how to transform your exterior with a fresh, high-quality stone veneer upgrade.
Over time, even the most durable stone veneer can show signs of wear and tear. Here are some clear indicators that it’s time to consider replacing your old veneer:
Replacing old stone veneer requires the right tools and materials to ensure a successful installation. Start by gathering the following:

Begin by removing the existing stone veneer. Use a hammer and chisel to carefully loosen and detach each piece. It's essential to remove not only the old stones but also the underlying mortar to create a clean, even surface for the new veneer. Take your time with this step to avoid damaging the underlying structure.
Once the old veneer and mortar are removed, thoroughly clean the surface using a wire brush. This step ensures that any remaining debris, dust, or dirt is cleared away. If the surface is uneven or porous, apply a bonding agent to create a smooth, adhesive surface for the new veneer to stick properly.
Begin applying a layer of mortar with a trowel to the prepared surface, spreading it evenly to create a stable base for the new veneer. Starting at the bottom, press each stone veneer piece firmly into the mortar, ensuring that they are aligned correctly. Use a level to check that the stones are even as you go. Work your way up the wall or area, allowing each section to set before moving on.
After all the stone veneer pieces are in place, fill any gaps between them with grout or additional mortar. Once the grout has dried, clean the surface of the stones to remove excess residue and ensure a polished look. Allow the mortar and grout to dry completely, allowing the recommended drying time before sealing the veneer. A sealant will help protect the stones from moisture and environmental damage, ensuring a long-lasting finish.
Choosing the right materials for your stone veneer replacement is crucial to achieving a beautiful and durable result. Opting for high-quality natural stone ensures that your new veneer will not only improve your home’s aesthetic but also withstand the elements over time. At The Rock Garden, we offer an extensive selection of premium stone veneer options, each designed to complement a variety of styles, from traditional to modern. Our experienced team can help guide you in selecting the perfect stone for your project, ensuring it meets both your design and durability needs.
By investing in top-tier materials, you’ll avoid the common pitfalls of lower-quality options that may crack, fade, or require frequent replacement. Whether you're refreshing an outdated look or fixing damaged stonework, choosing the best materials is essential for a lasting and polished finish.
Visit The Rock Garden today to explore our range of high-quality stone veneer and get expert advice on your next home improvement project. Let us help you transform your space with beautiful, durable stone that you’ll love for years to come.